Bursting with fresh, summertime flavors, this Turkey & Pesto Pasta Salad deserves to be in frequent rotation on your table all season long!
Jump to Recipe
Pasta salad in the summertime is my equivalent to soup in the fall and winter. It’s one of those meals that I just can’t get enough of when the weather is hot outside. We tend to eat pasta salad of some kind at least twice a week for dinner and at least once for lunch. As you can probably guess, everyone else in the house enjoys it just as much as I do.
Taste aside, pasta salad is one of my favorites for many of the same reasons that any recipe makes it on my favorite list – it’s versatile, it’s completely stolen moments friendly and it’s easy to put together.
How to make Turkey & Pesto Pasta Salad
This recipe comes together very quickly, especially if you are using leftover meat! Leftover grilled turkey breast is my favorite to use here, but you can use any cooked turkey option that you’d like. I’ve even made it with thick-sliced turkey lunch meat from the deli.
You can prep this entire dish ahead of time, or do it in stages. I like to mix everything put the pasta together a day in advance and then refrigerate. When I’m ready to serve, I just boil up some pasta, rinse in cold water and toss everything together.
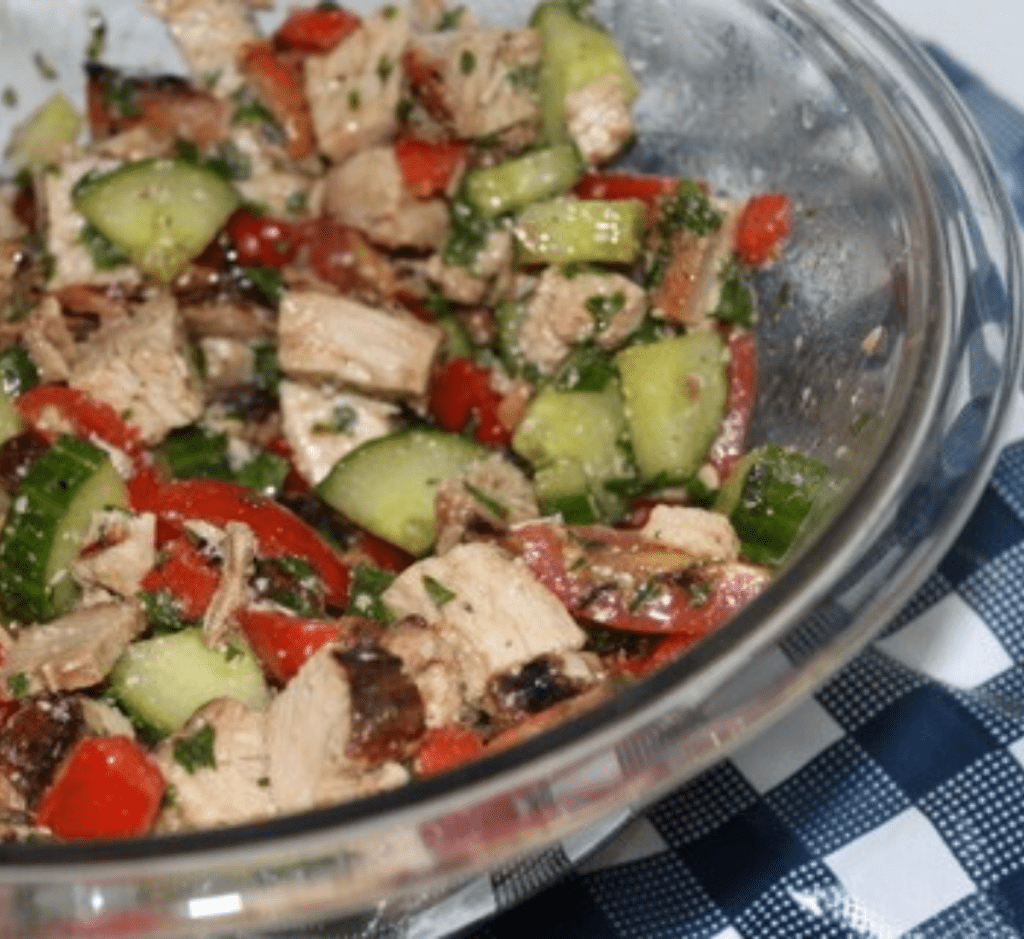
If you’re watching carbs, definitely feel free to skip the pasta all together. I mean look at that salad up there – isn’t that worthy of just digging in with a fork?
Can I use other proteins than turkey?
You can definitely swap out the proteins here if you’re not a fan of turkey. The key is that you want to make sure whatever you choose will pair well with the pesto.
Here are some options we’ve tried in the past that were all delicious.
- Leftover pork tenderloin, cut into cubes
- Cubed chicken breast
- Canned tuna
- White cannellini beans
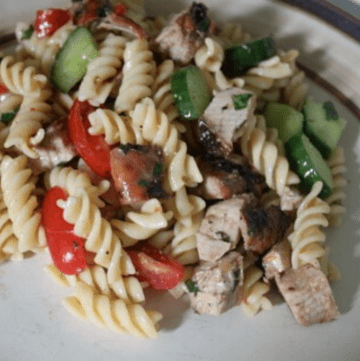
Turkey & Pesto Pasta Salad
Ingredients
- 1/4 cup Olive oil
- 3 Tablespoons White wine vinegar
- 1 Tablespoon Water
- 1 teaspoon Sugar
- 1/2 teaspoon Salt
- 1/2 teaspoon Pepper
- 1/3 cup Pesto (store-bought or homemade)
- 1 cup Grape tomatoes (quartered)
- 1 Cucumber (cut in half lengthwise and sliced)
- 1/2 Red pepper (diced)
- 1/2 pound Turkey breast (cooked and cubed)
- 1 pound Rotini pasta (cooked, drained and rinsed in cold water)
Instructions
- In a large bowl, whisk together oil, vinegar, water, salt, pepper and sugar. Stir in pesto.
- Add cut vegetables and turkey. Stir until fully combined.
- Add pasta and toss to coat. Refrigerate until serving.
Notes
- Leftover turkey works great in this recipe! My favorite option is leftover grilled turkey breast.
- Feel free to swap the turkey with another protein such as chicken, tuna, or beans.