
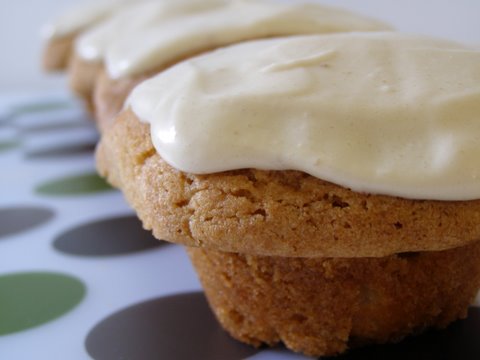
Bacon and Cheese Muffins are a delicious, savory make-ahead breakfast option that also do double duty as a snack or soup side. No matter the situation, you can’t go wrong with bacon and cheese!
Jump to Recipe
Is there any better combination than bacon and cheese?
This muffin recipe is packed full of both!
So, ditch the sweet muffins for breakfast and give these savory Bacon and Cheese Muffins a try.
Why you’ll love these muffins
If your mornings are a rush to get everyone out of the door on their way to work or school, having a make-ahead breakfast on hand is a great option.
These muffins are perfect for making ahead, and the savory taste is a wonderful way to start the day.
You’ll also love the muffins as a snack or served with a bowl of soup. They have more of a biscuit texture than a cake texture which makes them perfect any time of day! Just warm in the microwave for about 15-20 seconds and spread on some butter for a tasty treat.
The recipe comes together very quickly. You can get this stirred up and baked in just over 30 minutes.
Additionally, this recipe makes about 20 muffins and the extra muffins freeze wonderfully. To reheat, defrost on the counter overnight (or for at least 2 hours) and then warm briefly in the microwave before eating.
Ingredients you need
You’ll be surprised by the amount of flavor you can get with just 8 ingredients!
For this recipe, here’s all that you need:
- Bacon
- Cheese
- Eggs
- Flour
- Milk
- Butter
- Baking powder
- Salt & pepper
See? So simple yet SO good!
Tips to make the best Bacon and Cheese Muffins
This recipe is really easy, but you do need to be careful of a few things.
Firstly, make sure that you cook the bacon so that it is extra crispy (but not burnt). If the bacon isn’t crispy, it will get a little “soggy” when baked in the muffins. And who wants soggy bacon?
Also, it’s important that you do not over-stir the batter. Just like regular biscuits, over-working the dough will cause the muffins to have a tougher texture.
Variations
You can take these muffins to the next level with one of the following variations or additions:
- Stir some smoked paprika into the batter for an extra savory flavor.
- Use pepper jack cheese instead of cheddar for a little kick.
- Add some green onions to the batter.
If you come up with other variations, please let me know as I’m always looking for ways to mix things up!
Other recipes to try
- Homemade Cinnamon Raisin Bread
- Apple Spice Bars
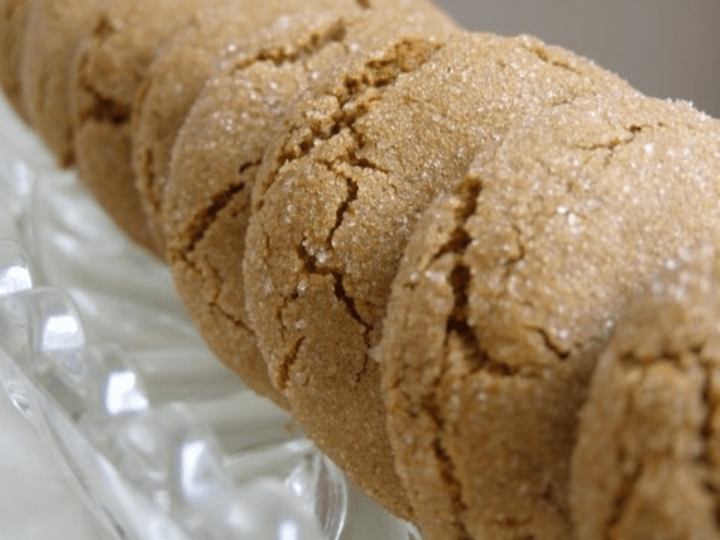
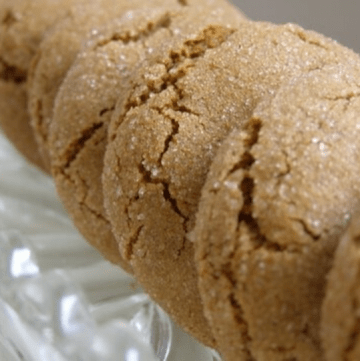
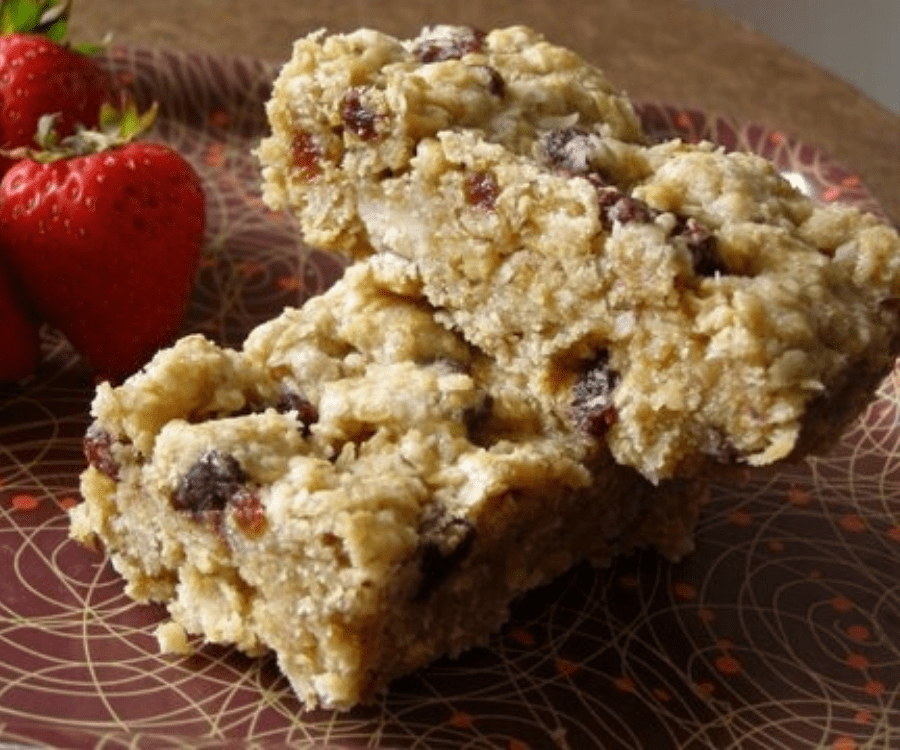
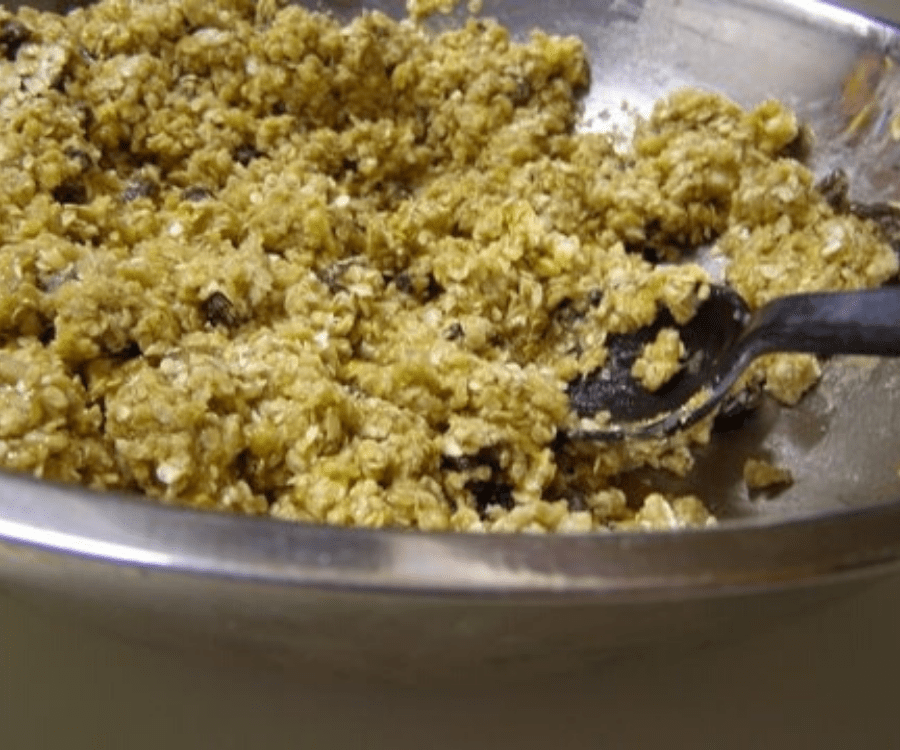
- Oatmeal Breakfast Bars
- Peanut Butter & Jelly Breakfast Cookies
- English Muffin Bread

Bacon and Cheese Muffins
Ingredients
- 4 cups Flour
- 4 teaspoons Baking powder
- 1/2 teaspoon Salt
- 1/2 teaspoon Black pepper
- 2 1/2 cups Milk
- 1/2 cup Butter (melted and cooled)
- 2 Eggs
- 1 pound Bacon (diced and cooked crisp with grease drained)
- 1 1/2 cup Shredded cheddar cheese
Instructions
- Preheat oven to 400 degrees.
- In a large mixing bowl, stir together flour, baking powder, salt and pepper. In a small bowl, mix together the milk, melted butter or margarine and eggs. Add the wet ingredients to the dry ingredients and stir just until moistened.
- Fold in the bacon and cheese just until combined. Scoop into greased or lined muffin tins. Bake at 400 degrees for 20-25 minutes, until lightly golden brown.
Notes
- Make sure you cook the bacon nice and crispy.
- Do not over mix the batter.
- Freeze for prolonged storage.


